High Jump
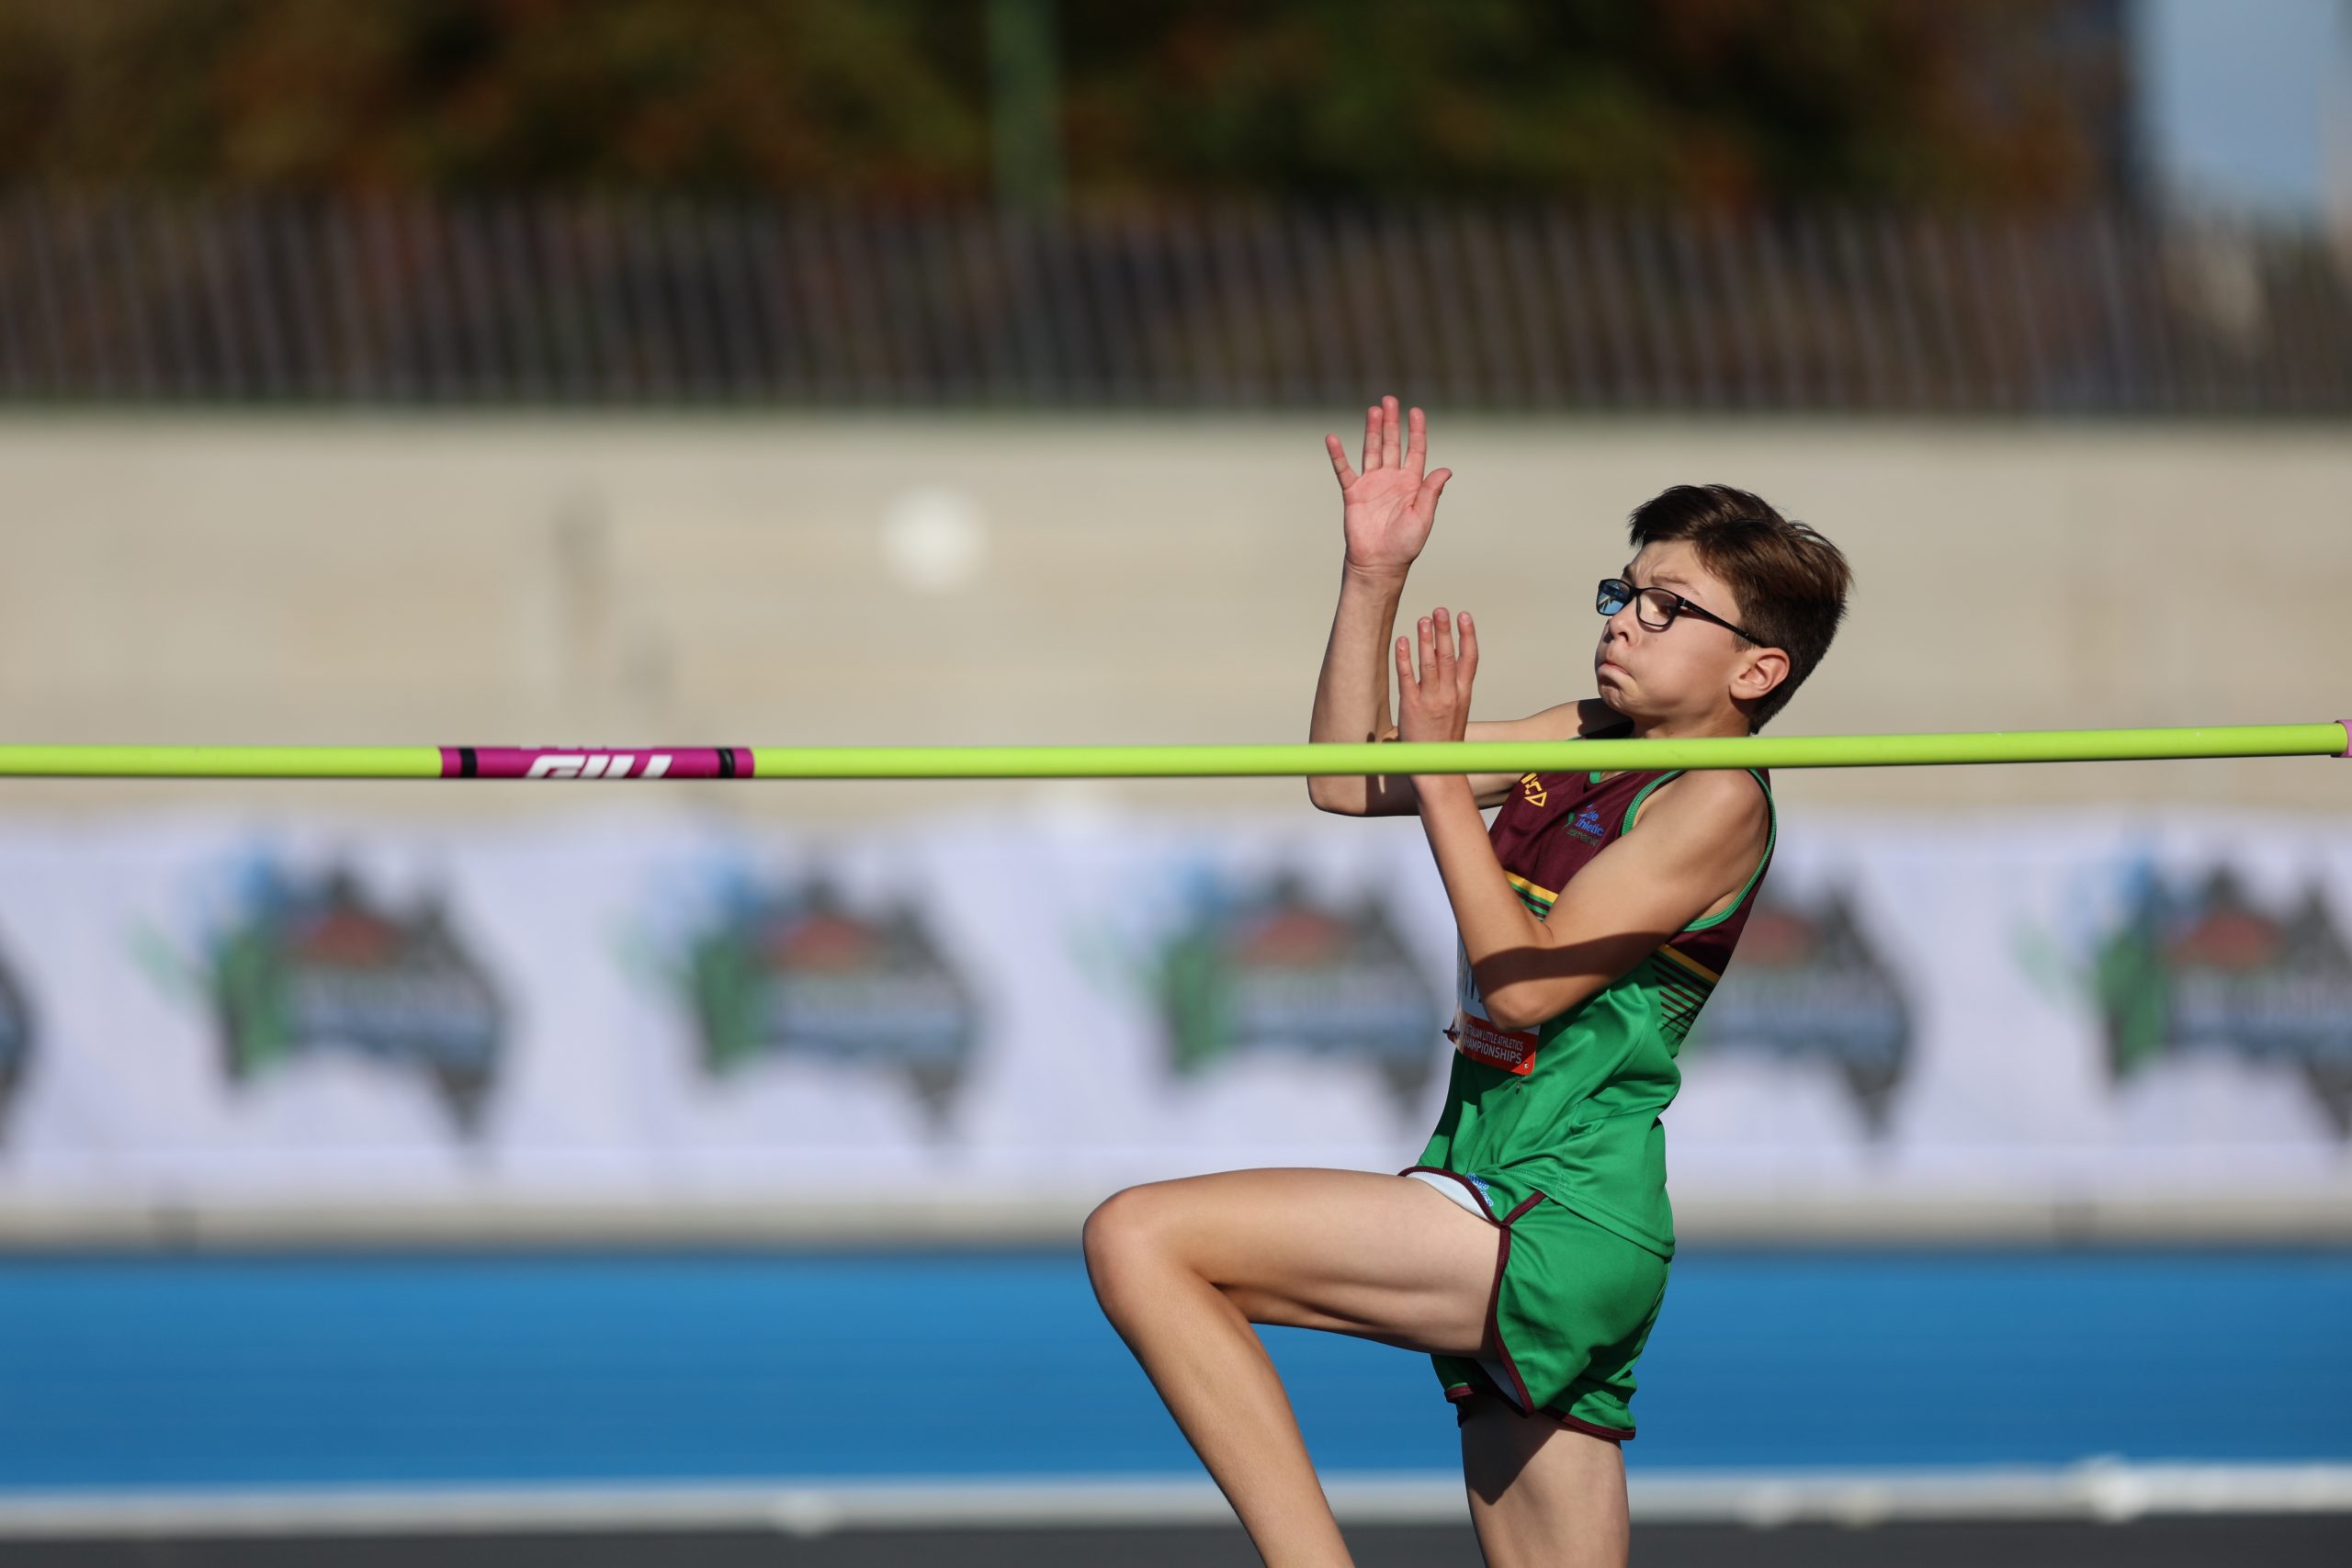
High Jump Skills (Scissor Technique)
Technique
- Start at the run up position.
- Body position.
- Stand tall.
- Action – Run up.
- Run on balls of feet.
- Straight run of 8-10 steps.
- Angle approx. 30 degrees to the bar.
- Last three steps are fast.
- Action – Take off.
- Be tall with “proud chest” and head upright.
- Lift knee closest to the bar (inside leg) high to go over the bar.
- Take off from outside foot.
- Action – Flight.
- Inside leg swings up and over the bar first, and is quickly brought down to land first.
- Outside leg follows pattern of inside leg.
- Action – Land.
- Must attempt to land on feet.
- Exit off the back of the mat.
Modification Options
- Adjust size or weight of discus to match the athlete’s upper body strength and control.
- Use a modified training discus or frisbee (safety practice discus, foam discus).
- Allow different throwing actions.
- Underarm toss.
- Underarm roll.
- Offer seated throws for relevant athletes. Seated athletes can complete multiple throws in a row to help with the functioning of the event.
- Throwing frame preferred.
- Ensure the chair is correctly secured to the ground.
- Use appropriate straps / postural anchors such as a pelvic belt and shin belt.
- Athlete may use a footrest or foothook.
- Chair is positioned facing sideways to the field.
- Swing arm in readiness prior to release.
- More or less trunk rotation depending on trunk strength.
- Can use own wheelchair or a heavy everyday chair.
- Brakes on.
- Seat belt and chosen postural supports on.
- Chair or wheelchair can be anchored/held by a helper adult to prevent it from tipping/rocking – hold the back of the chair on the opposite side to throwing arm. Adult ducks down so they don’t get hit with arm on follow through.
- Low backrest if available.
- Non-throwing hand to brace on thigh or arm rest or top of wheel.
- Trial different rotational angles for the chair ie throwing side rotated slightly forward.
- Throwing frame preferred.
- Use bright markers for the throwing and sector lines.
- For athletes with vision impairment, use a guide athlete. See the sensory page for more information.
Before you Start
- Correct weight of discus for the athletes age or athletes’ ability.
- Throwing circle is clear of debris.
- Waiting athletes stand behind the circle.
- Officials face the circle.
Safety
- A cage or safety netting is in place.
- Defined throwing and landing area.
- Athletes throw when told to go.
- After the throw, the discus is carried back to the circle not thrown or rolled.
Measuring
- Zero end of tape is placed on the nearest imprint made by the discus in the ground to the throwing circle.
- Pull tape back through the centre of the circle.
- Measure to the inside of the metal rim.
- When is the discus a foul?
- If the discus lands on or outside the sector lines.
- If any part of the athlete touches the ground outside of the circle during the throw (discus must land first before exiting the circle).
- If the athlete exits forward out the front half of the circle.
Recording
- Record the distance to the nearest whole centimetre below the distance measured.
National Naming Rights Partner